Web 2.0 style fills in Fireworks CS4
First of all I have to say whay I love working with fireworks.
The main reason is because it is able to work with vector graphics (or paths as they're called in Fireworks)
Here I will explain how to create web 2.0 style fills manually (you can download style libraries from various sites and I have used them in the past, but they are uneditable) and fairly easy.
Let us start. First of all you have to trace out your logo from a bitmap or write down some text. right click on it and select "Convert to paths"
Here is my starting image

Of course each one of the letters is essentially a path
Next up select each path individually and in the live effects section select and add a "Photoshop Live Effect".
Select stroke, set the color to the fill color of each path and the following settings:
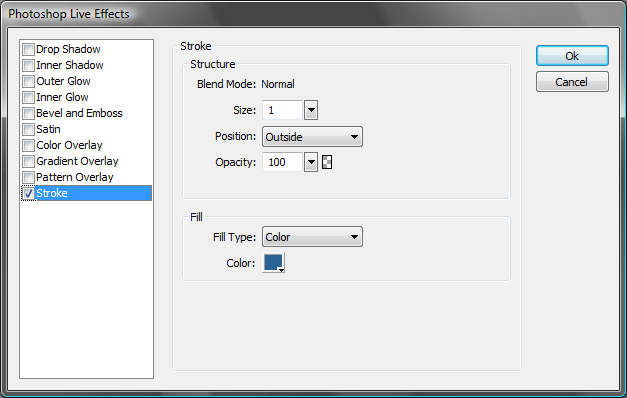
This adds an outline to the objects.
Then select all paths, duplicate them, remove the photoshop live effect from the newly created ones and draw a rechtangle in front of them.

You can use other shapes as well.
With all paths and the rechtangle selected, open up the path panel and select "punch paths"
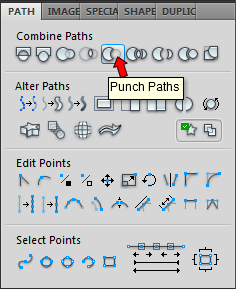
Select each of the newly created objects individually and create a gradient fill. The top color being white, and the bottom being the fill color of the original path.
You should get this:

Next select each of the original paths, set the fill to gradient.
First match the two colors
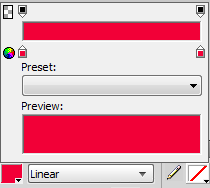
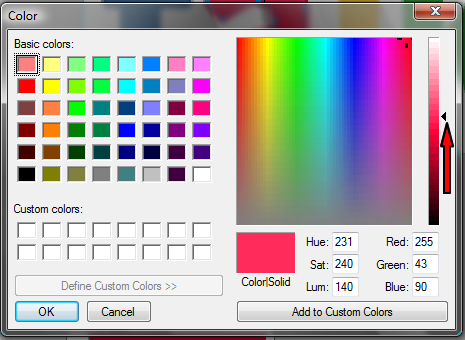
Then open up the system color picker on the first (upper) color (outlined in red)
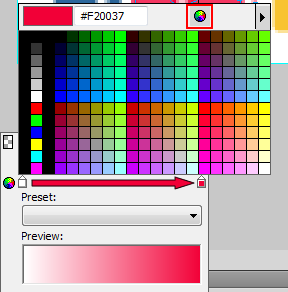
In the system color picker use the slider to select a lighter shade of the same color
The result should look like this:

You can try out different shades until you are happy with the result.
Now select the top objects, set their oppacity to around 40-50% (or play around until you are happy with the result)

Next up select ALL the objects on the canvas, duplicate them, group them, right click and select "Flatten selection" (this is a good practice when using Photoshop Live Effects, of any of the Live effects because when flipping Fireworks tends to keep effects settings as they are so shadows, glows, etc may not be flipped), flip the image and proceed to creating a reflection.
I also like to set the oppacity of the image to 80-90% before adding "Auto Vector Mask"
One trick for easy export to transparent PNG:
In the optimize panel set the image type to "PNG32", set the canvas color to transparent and press "CTRL+SHIFT+R" to bring up the "export" dialog.
And here is the finished product:

Have fun!