Glass Text- GIMP
You will need this plug-in before doing this tutorial: layer-effects.scm
1. Open a new document with transparent background. Make your canvas fairly large to fit your text.
2. Set foreground color to 30abf4 (doesn't really matter because you'll colorize it later)
3. Select text tool and a nice fat font. I used Elephant at 120 pts.
4. Type and position your text where you want it on your canvas.
Cool newbie tip - cutting and pasting your text as a new layer will center it.
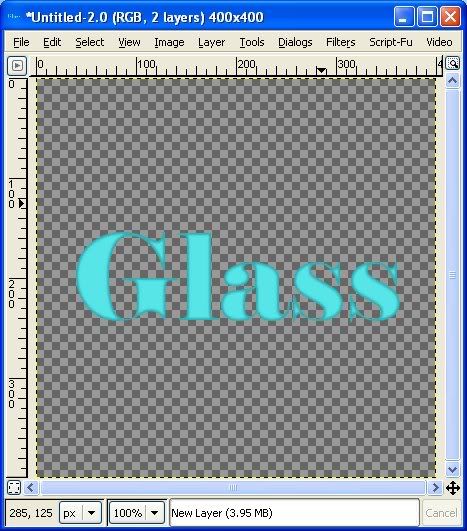
Merge your text down to your background.
Alpha to selection
Create a new transparent layer. On this new layer, Select>Shrink, 2 pixels.
Edit>Fill with BG color (white). Select, None.
Filters>Blur>Gaussian Blur >x:2, y:2
Layer mode>Overlay
Merge down.

Now for some texture
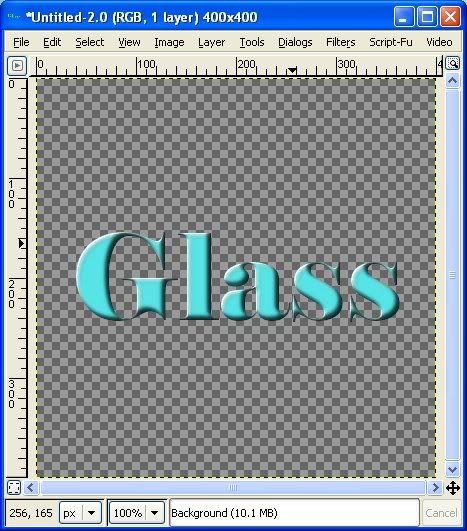
Script-Fu>Layer Effect>Bevel and Emboss>Inner Bevel. Set lighting degree at 42, leave others at default. You should have three visible layers now - your text layer, Bevel Light and Bevel Shadow. Image>Merge Visible Layers>Expanded as Necessary
Are you back to one layer? Good.
Filters>Map>Bump Map>Set your depth to 3, leave everything else alone.

Now, Alpha to Selection again. Select>Shrink 5 pixels. Select>Feather>Feather by 5. Hit Clear (Ctl + K) twice. Select>None.
Now we need to soften it just a bit. Grab your magic wand and click anywhere outside the text. Select>Invert, Filters>Gaussian Blur>2. Select>None.

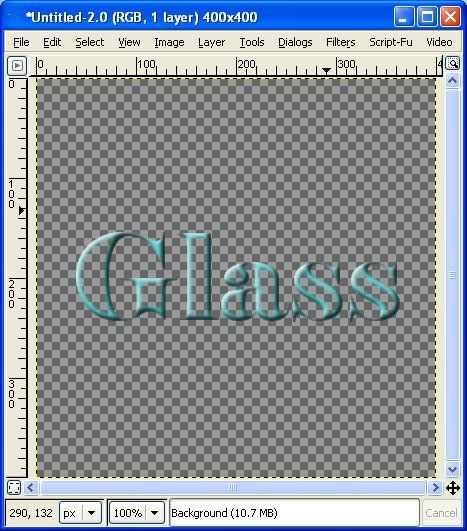
It's time to texture the edges. Filters>Map>Displace> x:2, y:2. I could stop here, but it looks kinda boring.
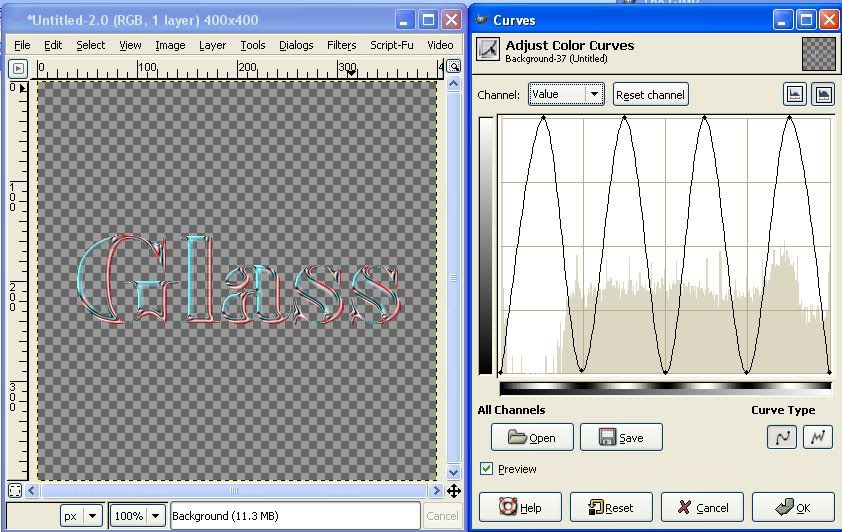
Layer>Colors>Curves. Drag the line all the way down to the bottom of the grid. Your text should look black. Click on the line at the midpoint of each grid square and at each vertical line. You should have a total of 9 black dots. Grab the dots in the center of the grid square and drag each one to the top of the grid.

Click okay.
Now to get rid of the red lowlights. Easiest part of the whole thing. Click Colors>Colorize. You can stop right here with the default value, or play with the settings to get a more desirable color.
Here is a possible outcome:
