Transparent PNG or SVG
In this tutorial, i will be using wikipedia as the source for a transparent PNG of the YouTube Logo.
As long as you have a transparent png to work with, your source doesnt matter.
If you already have the transparent PNG you will be using, please skip steps 1 - 3. Start at 4.
1. Go to wikipedia (or your chosen source), and find the image.
Parts a-b apply to wikipedia..
a) Search for the site name

b) Once on the correct wikipedia article, click the image.

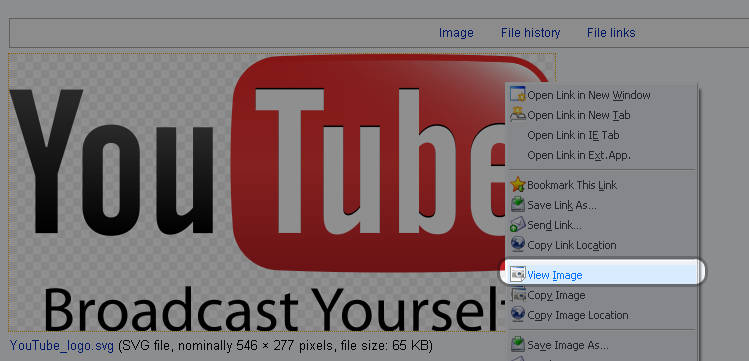
c) On the next page, Right Click the image, and click "View Image"

2. Once you have the image open, Right click, and choose "Save Image As.."

3. Choose a folder to save the image to, and hit Save.
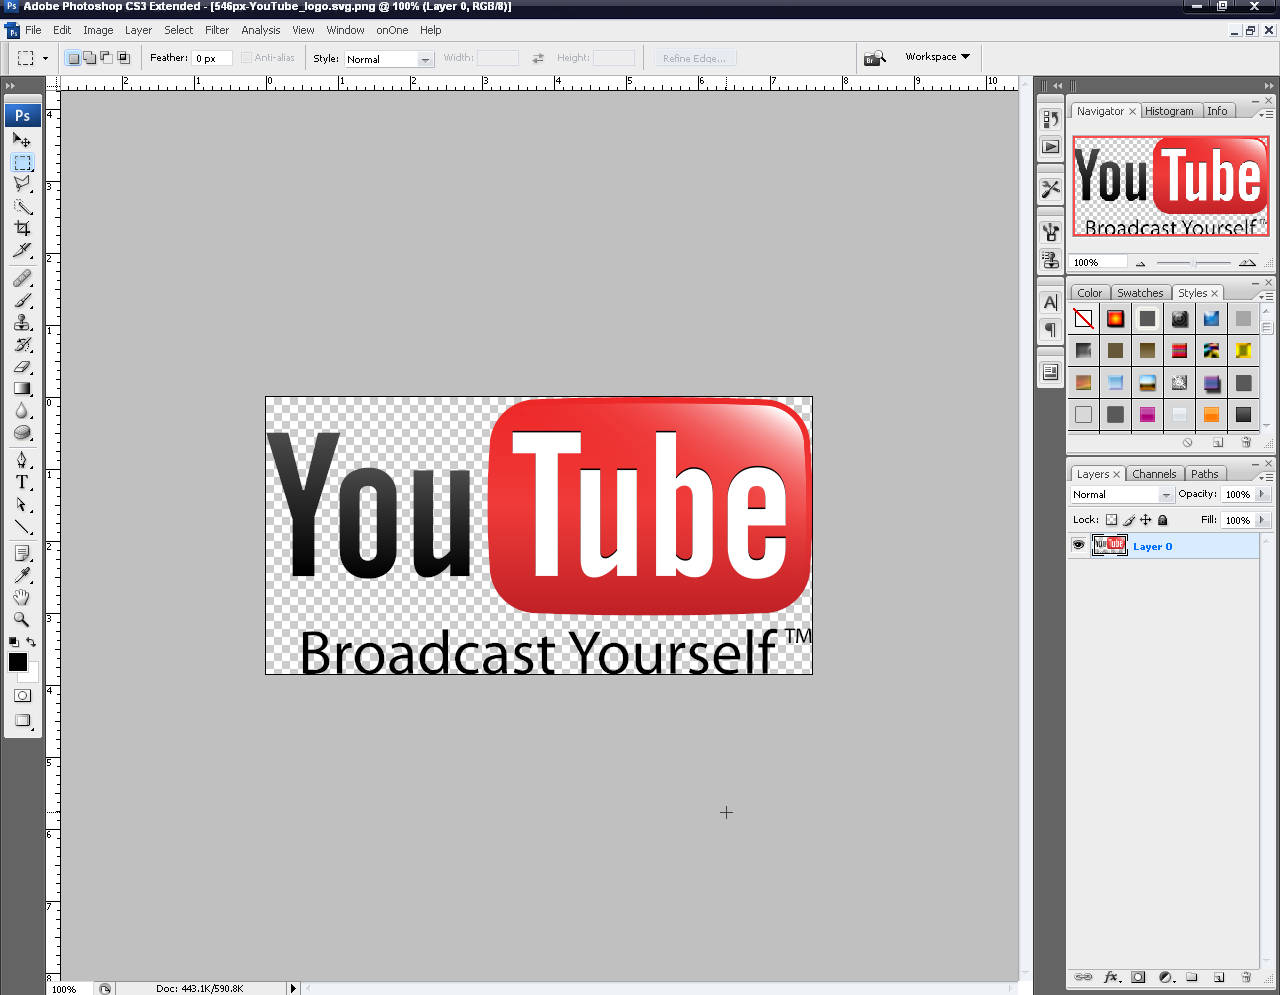
4. Now you can go ahead and open the image in Photoshop.
You can either open photoshop first, then use File - Open.
Or, you can right click the image on your PC, and use "Open With"

5. Go to the "Image" Menu, and choose "Canvas Size..".

6. Use the following settigs: Width - 300 pixels, Height - 225 pixels
Or, you can also use 400px by 300 px. (Ratio must be 4:3)

7. Now go to the "Edit" Menu, and choose "Free Transform".

8. While holding SHIFT, click and drag one of the corners to resize the logo.
Continue moving, and resizing it until it fits in the center of the canvas.
Then hit ENTER.

9. You can choose to remove certain areas of the logo. Select the "Rectangular Marquee Tool" (Shortcut = M key)
Click and drag it around an object you want to get rid of, then hit DELETE. I will get rid of the youtube slogan in this case..

10. When done deleting un-necessary objects, right click anywhere on the image, and choose "Deselect".

11. Now look below the layers pallete, and find the "half-moon" icon. Click that, and choose "Solid Color...".

12. Choose pure black. Code: 000000

13. Repeat Step 12, but this time choose pure white. Code: ffffff
Make either one of them invisible, by clicking the "eye" icon to the left of the layer (I have made the white one invisible).
The white and black layers help you see how the logo will look on dark or light backgrounds.
You can switch visibility between the two at any moment during the tutorial. Use the "eye" icons.
Arrange the layers as seen in the screenshot below (You can click and drag layers..):

14 - 15 OPTIONAL
14. Right click the Logo layer, and choose "Blending Options.."

15. In this tutorial i will give the logo an outer glow for better visibility of the black "YOU" part.
Most of the settings are self-explanatory. Play around if you don't know what they do. When done, hit Ok.

16. Right click the Logo layer, and choose "Duplicate Layer.." Hit Ok on the pop-up.

17-18 ONLY If you followed 14-15
17. Create a new layer, move it underneath the duplicate logo layer.
"New Layer" icon is found under layers pallette, between the "Folder" and "Trash" icons.

18. Select the Duplicate Logo layer, go to the "Layers" menu, and choose "Merge down".
This will merge the duplicate layer, with the blank layer, which will "rasterize" the blending settings..

19. Now go to the "Edit" menu, then "Transform", and choose "Flip Vertical".

20. Use the "Move Tool" (Shortcut = V key), using the arrow keys to position the flipped logo underneath the non-flipped logo.

21. Make sure your current primary color is set to black. Select the "Gradient Tool" (Shortcut = G key), Give the Flipped Logo layer a "mask".
The "Create Mask" icon is to the left of the "half-moon" icon under the layers pallette.
In the top left of the toolbar, choose the "Foreground to Transparent" gradient.
Now click about halfway down the flipped logo, and drag your mouse straight up, about halfway up the non-flipped logo, then release the mouse.

22. You can continue to use the graient tool until you get the logo to look similar to this:

23. Now select the thumbnail of the flipped logo layer. Choose the "Filter" menu, then "Blur", and choose "Gaussian Blur".

24. Move the "Radius" meter until you get the desired effect. Hit Ok when done.

25. The logo is complete!! Use the "eye" icons located to the left of each layer to switch between the black and the white background layers.
This gives you a preview of the logo on a dark or light background.
26. Make both solid color background invisible (again, use the "eye" icons).
Go to the "File" menu, and choose "Save As.."

27. Browse to a desired save location. Select the "PNG (.png)" Format, and give the logo a filename. Then hit Save.

NOTE: You may also want to save as a "Photoshop (.psd)". This way you can modify the logo later. All layers are preserved in the PSD format.